This post contains affiliate links to products. I may receive a commission for purchases made through these links.
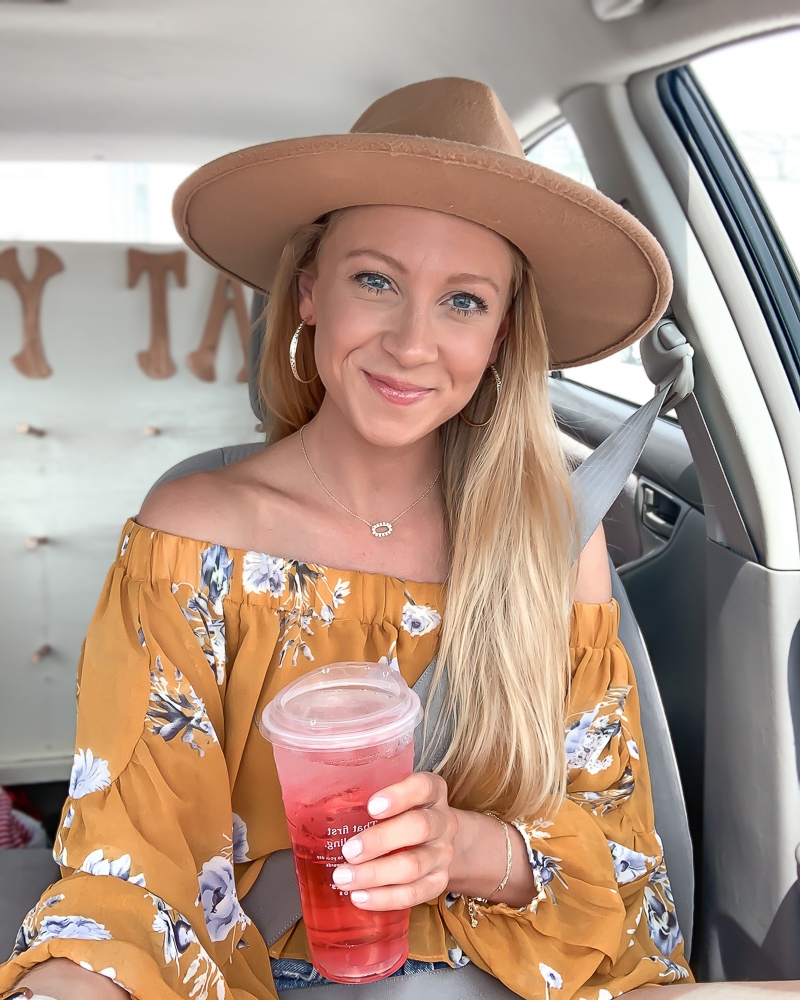
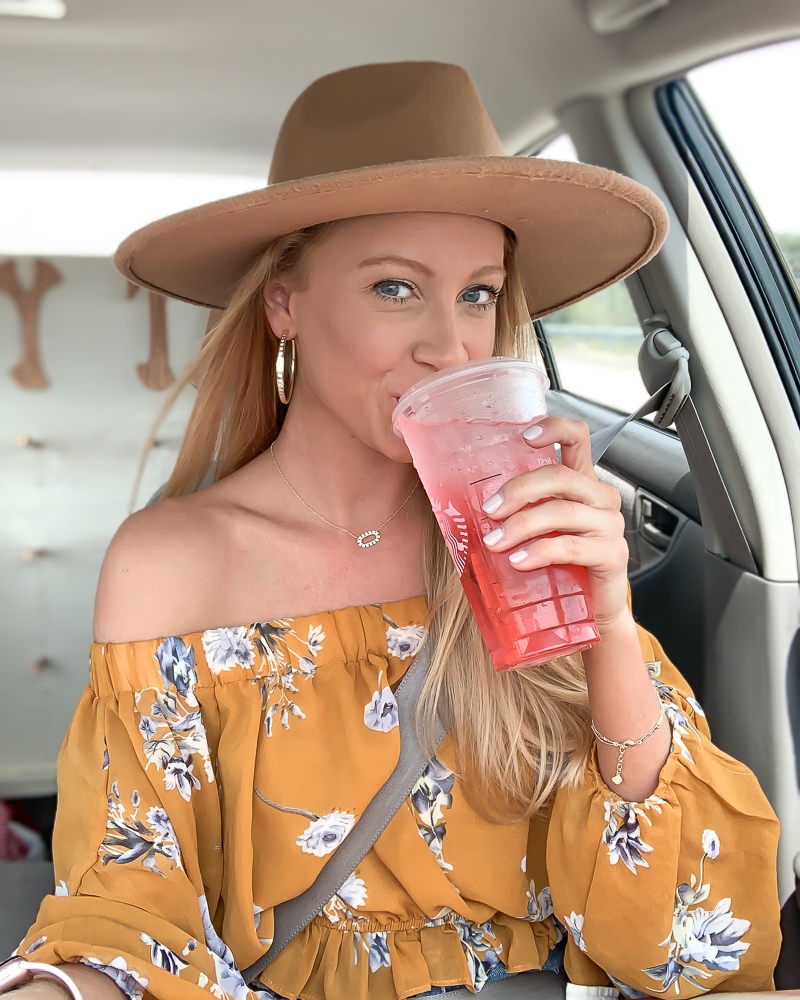
I don’t think I’ve shared a lot of beauty on my blog yet so why not start with a post about my summer makeup routine + products I absolutely LOVE? Personally, I love a natural glowy sunkissed look year round. But it really shines when I have a little bit of a tan as well! In this post, I’ll break down what products I use to give that dewy look + some tips I’ve learned!
Basics – Primer, Foundation, + Concealer
When starting with a summer makeup routine (or any routine for that matter), primer is SO important. It can minimize the appearance of pores + fill in any areas of uneven skin. I recently started using the oil free primer from Lancome which is a very lightweight yet super effective base. I use 2 pumps of product to make certain I have applied it over my entire face . + I make sure to apply this on dry, clean skin (just after washing my face + applying my moisturizer//sunscreen). While the bottle is small for the price, it has a lot of product in it, so I believe it is worth it! One foundation I find myself going back to time + time again is the Luminous Silk from Giorgio Armani. I love the variety of colors they have – especially the different colors for different skin undertones.
For the concealer, I use two. I use the Bye Bye Undereye from ItCosmetics for the base concealer + to cover up any pimples or active breakout spots. Pro tip I learned: apply concealer in the inner + outer corners of the eye. Product in the middle of the undereye can cause the cakey appearance + cause the eyes to look heavy. By blending in the concealer, it will allow for the entire under eye to be covered.
First, I use my fingers or a dry blending sponge to blend in the concealer under the eye. I then dampen the sponge to further blend it + work the product into the area. I follow up with Tarte’s shape tape concealer just under the eye to brighten up the dark spots + I follow the same pattern as explained above! Personally, I feel the shape tape is too creamy + creases easily throughout the day, which is why I use it on top of the Bye Bye Undereye. I also set it with a translucent powder to keep it from creasing throughout the day. I use the ItCosmetics poreless finishing powder but have recently been loving the NYX pressed powder in shade banana!
Sculpting – Bronzer + Highlighter
I was told I have a heart shaped face which means I already have prominent cheek bones. So, when it comes to bronzing, I do not apply a lot of product as I do not want to overemphasize them. I recently found a bronzer//highlighter duo – the Filmstar Bronze + Glow by Charlotte Tilbury in shade light to medium. I’m wondering where the heck I have been because I absolutely love the colors in the duo pack. + it’s an easy bronzer to build up.
I start with this bronzer on my cheek bones to give the contouring effect. + I also put the product on either side of the bridge of my nose to shape it a bit. Then, I use the radiance bronzer from ItCosmetics + apply it just above my cheekbone, on my temples + forehead, + at the base of my chin to give a glowy finish. This product has a good blend of shades + shimmer which gives the glow!
I finish sculpting with the highlighter from the Charlotte Tilbury duo. I am certain I will not use another highlighter for a while to come because this is one of my favorite products in my entire makeup routine! It has the prettiest pearl shimmer to offset the bronzer. I apply the product just above the bronzer on my cheeks. I also apply it to the bridge of my nose, center of my forehead, and my cupid’s bow.

Eyes – Eye Shadow, Eyeliner, + Mascara
I’ve never been one to take the time to do eyeshadow so I learned an easy trick that I do every time I want to put a little color on my eyes! I take the bronzer from ItCosmetics and apply it to the crease of my eyelid. It’s a simple but effective way to incorporate some color + it avoids any confusion with layering shades.
After applying the bronzer to my eyelids, I use the Stay All Day Liquid Eyeliner from Stilla. I like how thin the tip of the eyeliner pen is + I make sure to shake the tube well before applying the product. The key to applying this (in my opinion) is to take the time + work slowly to build the line on the eyelid. Sometimes, I get impatient + apply it too fast so I make mistakes – which then takes even longer to fix + correct. Save yourself the time + do it right the first time! Also, this takes practice to get a look you love!
Moving on to Mascara, I’ve been using the Better than Sex Mascara from Too Faced since high school. + I love how easy it is to build the product to get the longest, thickest looking lashes! I generally use 2-3 layers allowing minimal drying time before adding another layer. For summer makeup, I do buy the mini waterproof mascara, especially when I am outside or in the water to avoid my mascara running.
My eyebrows are so light that I MUST fill them in or I look like a ghost! Lately, I’ve been tinting them at a local salon so that I do not have to touch them + what a game changer it is. However, when I need to touch them up, I use this eyebrow pencil from Benefit Cosmetics.
Lips – Hydration + Lip Gloss
At the beginning of my summer makeup routine, I apply the Camellia Gold Spun Lip Balm to my lips to get in a quick hydration burst. By the end of my routine (+ usually hair routine), my lips are so soft from this product. It also allows whatever lip products I use throughout the day to sit well without the appearance of dry lips. For the spring + summer, I focus more on lipgloss, because I haven’t found a lipstick I’m crazy about yet. My current favorite is the Milani Lip Plumper which I found at Target. It’s an affordable + easy product to throw into my purse + reapply throughout the day without needing a mirror to fix it! I use shade Nude Shimmer.
Well, there it is! My summer makeup routine to get that glowy sunkissed look! To view other posts related to Style + Beauty, click here!


Leave a Comment